How to Install an Under-Sink Water Filter Without a Plumber
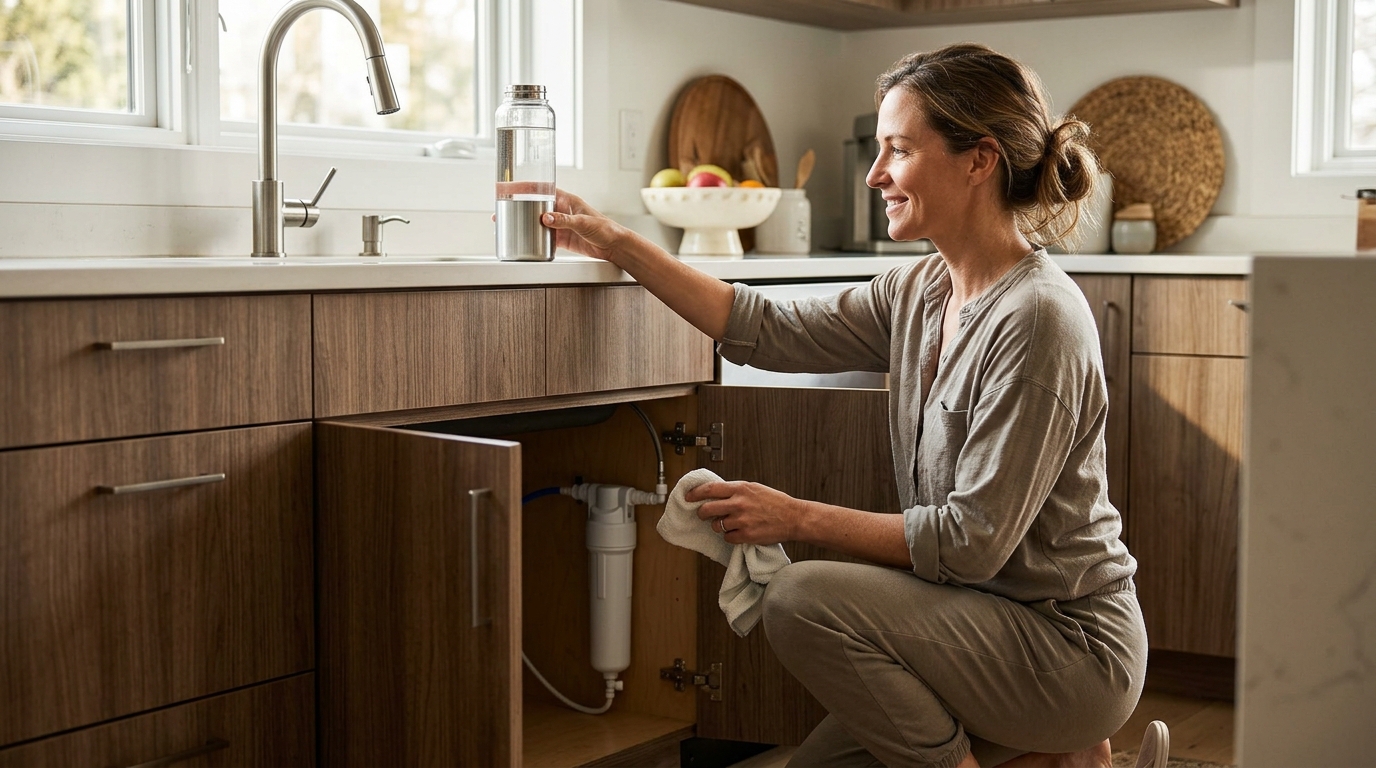
Installing an under-sink water filtration system is one of the simplest home upgrades you can tackle on your own. Most quality inline filters, including those from Woder Filters, are designed for tool-free DIY installation that takes 15 minutes or less. You do not need plumbing experience, special tools, or a professional service call. In this guide, we walk through every step, from gathering supplies to flushing the new cartridge, so you can enjoy cleaner, mineral-rich water today.
What Is an Under-Sink Water Filtration System?
An under-sink water filtration system is a point-of-use filter installed beneath a kitchen or bathroom sink, connected directly to the cold-water supply line. Unlike pitcher filters that treat small batches, under-sink models filter water on demand at the full flow rate of your faucet.
Selective filtration is a technology that removes harmful contaminants like lead, chlorine, and PFAS while retaining beneficial minerals such as calcium and magnesium. Woder's Advanced Selective Filtration achieves 99.9% contaminant removal without stripping essential minerals, unlike reverse-osmosis systems that can remove healthy minerals along with contaminants.
Why DIY Installation Saves Time and Money
Hiring a plumber for a basic filter install typically costs $150 to $300 in labor alone, according to HomeAdvisor's plumbing cost guide. A Woder under-sink filter installs in about 10 to 15 minutes with push-fit connectors and no tools. That means you keep those labor dollars in your pocket.
DIY installation also means you control the timeline. No waiting days for an appointment. No rearranging your schedule. You open the box, connect the lines, and start filtering.
Tools and Materials You Will Need
One of the biggest advantages of modern inline filters is the minimal supply list. Here is what you need:
- Your Woder under-sink filter (e.g., the WD-G4-210-JG or WD-G4-210-DC)
- A towel or small bucket (to catch residual water)
- Teflon tape (only if your setup uses threaded fittings)
- A flashlight (helpful in dim cabinet spaces)
No wrenches, no drill, no soldering. If you are unsure which model fits your plumbing, the Woder Filter Wizard walks you through a quick quiz to match you with the right filter.
Step-by-Step Installation Guide
Step 1: Turn Off the Cold Water Supply
Locate the cold-water shut-off valve under your sink. Turn it clockwise until it stops. Open the faucet to release any remaining pressure in the line.
Step 2: Disconnect the Supply Line
Place a towel or bucket beneath the valve. Disconnect the flexible supply hose from the shut-off valve. A small amount of water will drain out, which is perfectly normal.
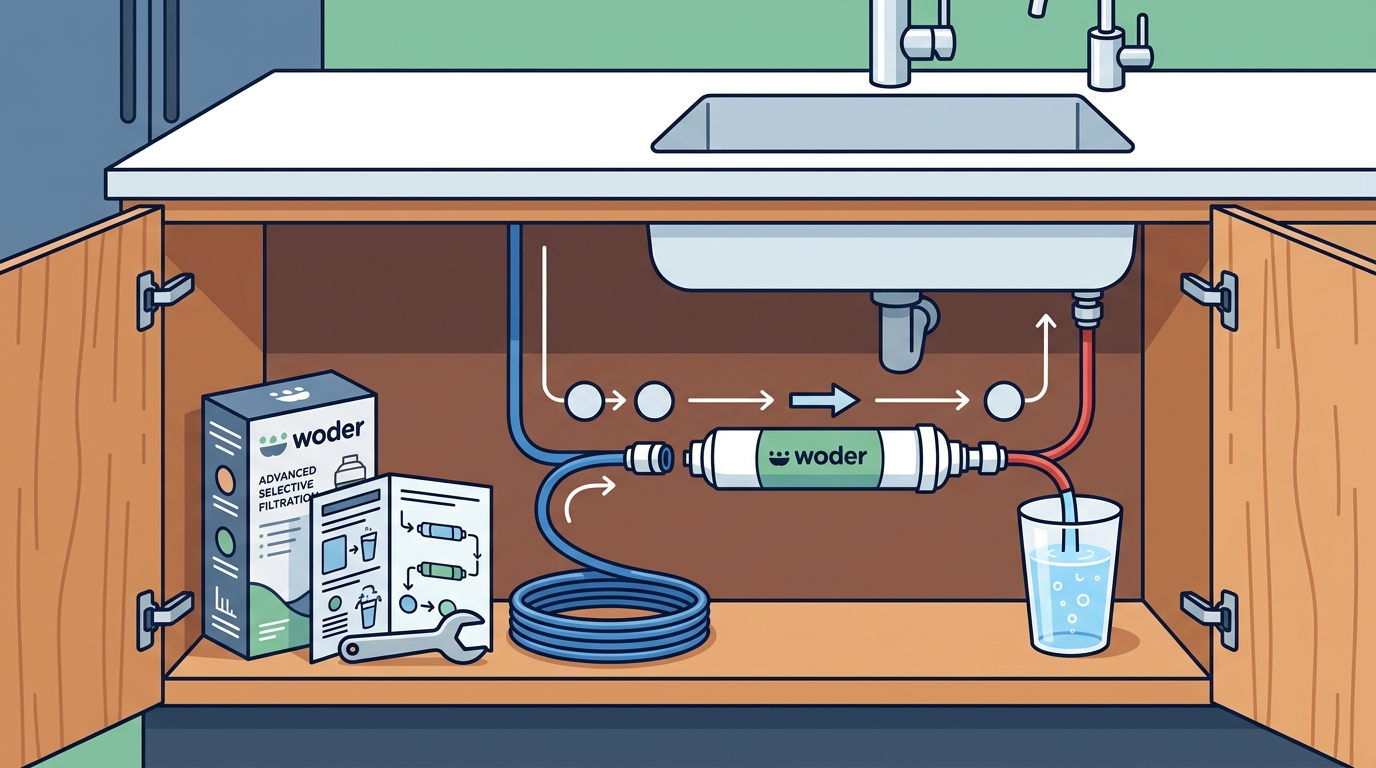
Step 3: Connect the Filter Inline
Attach the filter's inlet side to the shut-off valve. Then connect the outlet side to the supply hose that feeds your faucet. With Woder's push-fit (JG) connectors, you simply push the tubing in until it clicks. No tools required. For direct-connect (DC) models, thread the fittings by hand and snug them with a quarter turn.
Step 4: Secure and Flush
Mount the filter using the included bracket or let it rest on the cabinet floor. Turn the water supply back on slowly. Check for leaks at every connection. Run cold water through the faucet for 3 to 5 minutes to flush carbon fines from the new cartridge. The water may appear gray initially; this is harmless activated carbon dust.
For detailed visual instructions, visit Woder's official installation page which includes video walkthroughs for each model.
JG vs. DC Connectors: Which Do You Have?
A JG (John Guest) connector is a push-fit coupling that requires no tools; you push tubing in and it locks automatically. A DC (direct connect) fitting is a compression-style connector that threads directly onto standard 3/8-inch valve ports. Choosing the correct type depends on your existing plumbing.
| Feature | JG (Push-Fit) | DC (Direct Connect) |
|---|---|---|
| Tools required | None | None (hand-tighten) |
| Best for | 3/8" or 1/4" tubing setups | Standard 3/8" valve threads |
| Install time | ~10 minutes | ~15 minutes |
| Reusable | Yes | Yes |
| Example model | WD-G4-210-JG | WD-G4-210-DC |
Not sure which connector matches your sink? Check the underside of your shut-off valve or consult the Woder FAQ page for photographs of common plumbing configurations.
Common Mistakes and How to Avoid Them
Forgetting to Flush the Cartridge
Skipping the initial flush can send harmless but unsightly carbon fines into your glass. Always run water for at least 3 minutes before drinking.
Installing on the Hot Water Line
Under-sink carbon filters are rated for cold water only. Hot water can degrade the filtration media and shorten the filter's lifespan. Connect only to the cold-water supply valve.
Ignoring the Flow Direction Arrow
Every Woder filter has an arrow printed on the housing indicating proper flow direction. Installing it backwards reduces performance and can damage the cartridge. Double-check the arrow before tightening connections.
For more tips on getting the best results from your filtration system, read what to know before you buy a water filter.
Key Takeaways
- Under-sink water filter installation is a genuine DIY project that takes 10 to 15 minutes with no special tools.
- Woder filters use push-fit (JG) or direct-connect (DC) fittings, both designed for hand installation.
- Always shut off the cold-water valve and release pressure before disconnecting any lines.
- Flush the new cartridge for 3 to 5 minutes to clear carbon fines before drinking.
- Connect only to the cold-water line; hot water can damage carbon filtration media.
- Check the flow-direction arrow on the filter housing to ensure correct orientation.
- Hiring a plumber for this job is unnecessary and can cost $150 to $300 in labor.
Frequently Asked Questions
Do I need any plumbing experience to install an under-sink water filter?
No. Modern under-sink filters like Woder's models use push-fit or hand-tighten connectors. If you can attach a garden hose, you can install one of these filters.
How long does installation take?
Most homeowners complete the installation in 10 to 15 minutes. The process involves turning off the water, connecting two fittings, and flushing the cartridge.
Will the filter reduce my water pressure?
Quality inline filters cause minimal pressure drop. Woder filters are engineered to maintain strong flow rates, so you should not notice a difference at your faucet.
How often do I need to replace the filter cartridge?
Woder under-sink filters typically last up to 10,000 gallons, which is roughly three years for an average household. Learn more on how long a water filter lasts.
Can I install the filter on a refrigerator water line?
Yes. Many Woder inline models, such as the WD-G4-JG, are designed for refrigerator and ice-maker lines as well.
What contaminants does the filter remove?
Woder's Advanced Selective Filtration removes over 99.9% of contaminants including lead, chlorine, chromium 6, mercury, and PFAS, while keeping healthy minerals like calcium and magnesium. The EPA's drinking water standards outline the key contaminants worth testing for.
What if I have a leak after installation?
Turn off the water supply and recheck every connection. For push-fit (JG) fittings, make sure tubing is cut squarely and pushed in fully until the collar locks. For DC fittings, confirm the rubber washer is seated inside the coupling before hand-tightening.
Is an under-sink filter better than a pitcher filter?
Under-sink filters treat water on demand at full pressure and typically last far longer than pitcher cartridges. They also handle higher volumes and remove a broader range of contaminants. Read how water filters work for a deeper comparison of filtration types.
Get Started With Woder
Ready to enjoy cleaner, mineral-rich water from every glass? Browse the full Woder product catalog to find the under-sink filter that matches your plumbing, or take the quick Filter Wizard quiz to get a personalized recommendation in under a minute.